
Originally posted on: https://speckle.works/log/speckle-guide/
So you want to stream data between Grasshopper and Dynamo? This guide will get you started!
Installation
Requirements
-
Rhino 6 + Grasshopper
-
Dynamo 2.0
Grasshopper
Speckle for Grasshopper is distributed together with Speckle for Rhino, in a single installer.
- Download the installer from: https://ci.appveyor.com/api/projects/SpeckleWorks/SpeckleRhino/artifacts/specklerhino.rhi?branch=master&job=Configuration%3DRelease
- Close Rhino&Grasshopper
- Run the installer
- Open Rhino&Grasshopper
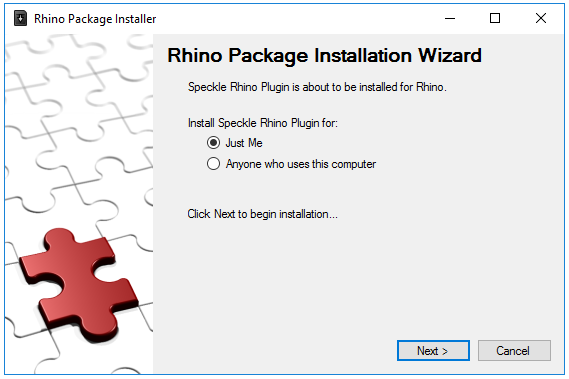
Make sure that, when double clicking the installer, it is opened by the *Rhino Package Installer*, and not by an older version of Rhino like *Rhinoceros 5*.
You now have both Speckle for Rhino and Speckle for Grasshopper installed.
Dynamo
Speckle for Dynamo is distributed via the Dynamo package manager.
- Fire up Dynamo
- Click on Packages > Search for a Package…
- Search for “speckle” and click Install (search might be very slow from time to time!)

You now have Speckle for Dynamo installed.
Account creation
To use Speckle you need a Speckle Account, the first time you use a Speckle plugin you’ll be prompted for your details, but you’ll also be able to create one.
You only need one Speckle Account to use Speckle, but you could have more if, for instance, your company was running a self hosted version.
Let’s go ahead and create one, you can do so from the Grasshopper or the Dynamo client.
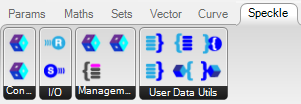
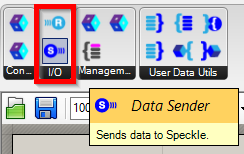
In Grasshopper, drag and drop the Data Sender or Data Receiver components on the canvas.
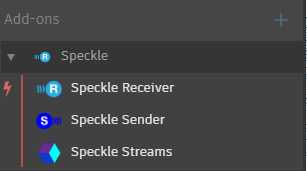
In Dynamo, click on the Speckle Sender or Speckle Receiver to place the on the graph.
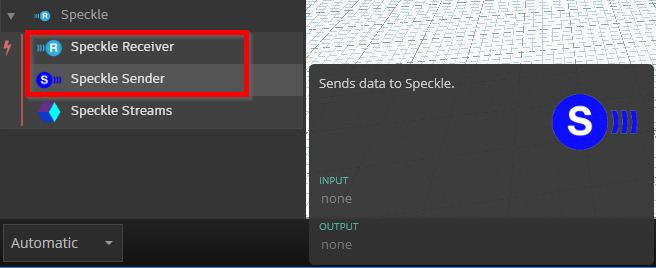
(Yes, I agree with you, we need to standardize naming, but at least icons are the same!)
Now, in both cases, you’ll see the following window:
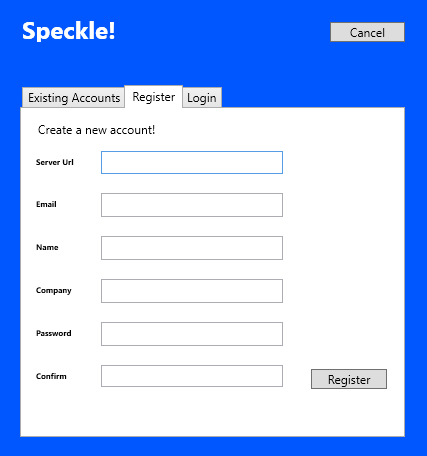
For Server Url use:
https://hestia.speckle.works/api/v1
Unless, of course, you deployed your own. Fill in the other fields and click Register!
If everything went smooth so far, we’ll be ready to start sending and receiving data. If not, get in touch, and we’ll try to troubleshoot:
- on the forum, for general discussions
- on github, to report bugs/feature requests
- on slack, to chat with the community
Changing account
In Grasshopper, each time you place a component you’ll be prompted to select what account to use.
In Dynamo, after selecting an account, it becomes the default one. But you can change it and add new ones at any time from View > Speckle Accounts:

Hello Speckle!
Let’s send and receive our first stream! A stream, in Speckle terms, is a set of data that can be sent and received. A stream has a unique ID (streamId) used to identify it, it also has layers, which are used to group data in the stream.
More info on streams can be found in the Speckle docs.
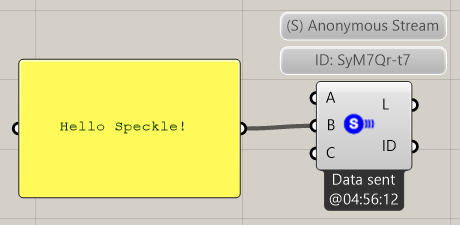
In Grasshopper, place a Sender component (or reuse the one created previously) and create a panel with some text, then connect the panel to one of the input ports of the Sender, just like so:
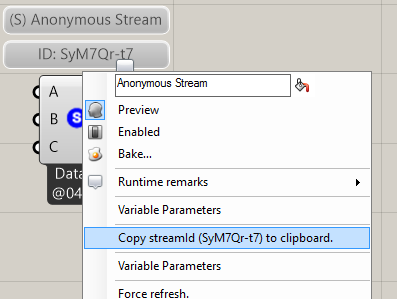
Now, right click on the Sender and then select to copy the streamId to clipboard:
In Dynamo, place a Receiver node:
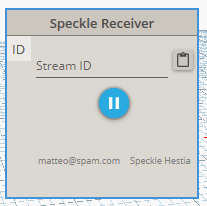
Then, either paste the streamId or use the friendly paste button, and….

Here’s a full gif of the process, it took us 4 mouse clicks, but we made it! We now have real time data streaming between Grasshopper and Dynamo. Just try changing the text, and you’ll see it update automatically.
Working with streams
Let’s now go through other features and things that can be done with streams.
Set a stream name
Optional, but good to keep our streams organized.
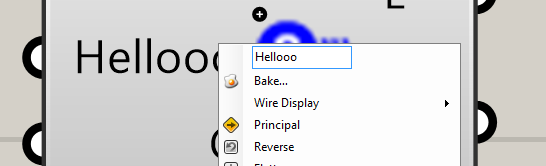
In Grasshopper, right click on the Sender and set the component Name:

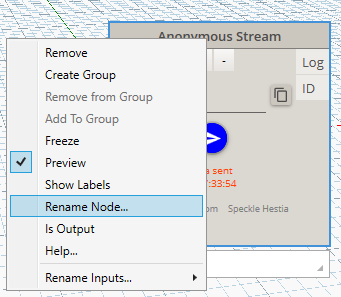
In Dynamo, similarly, right click and select Rename Node…:
Find a stream by name
In Grasshopper, you’ll need to use a few components, more specifically the Accounts + Streams + Expand Object:

In Dynamo, just use the Streams node and select/search the name:
Add/Remove inputs
You can add and remove inputs from a Sender component/node, these correspond to the stream layers, in Speckle terms.
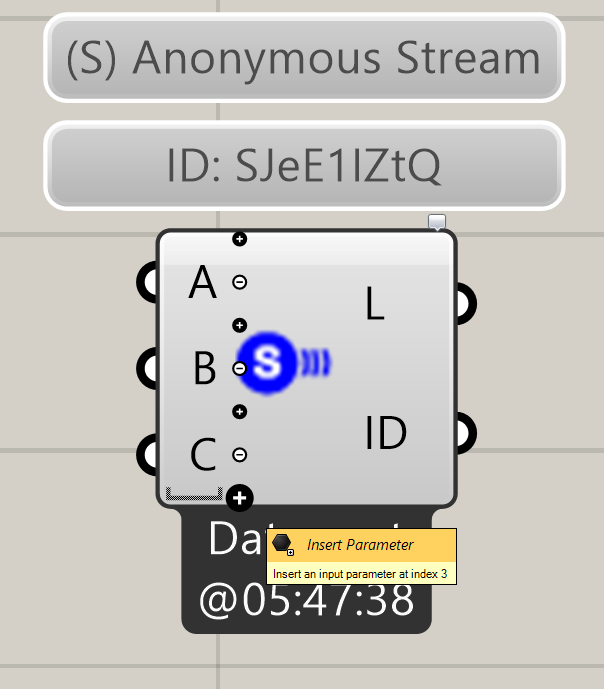
In Grasshopper, zoom on the component until you see these + and - signs:
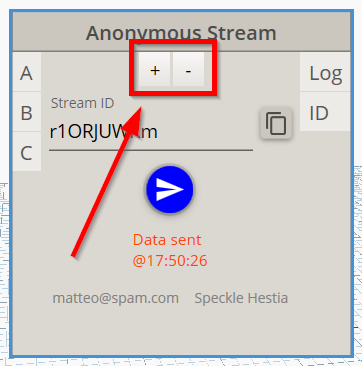
In Dynamo, click on the + and - buttons:
Rename inputs/layers
In Grasshopper, right click on the input itself:
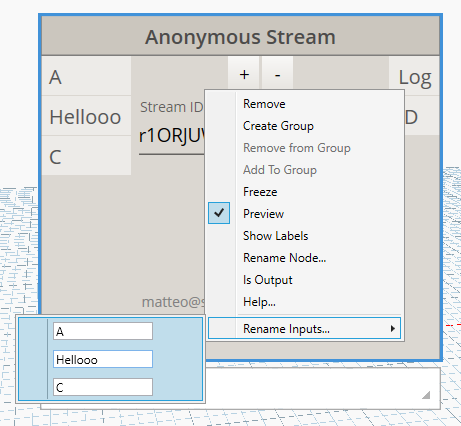
In Dynamo, right click on the node > Rename Inputs…:
Support for multiple data types
Speckle supports natively many data types like text, numbers, geometry primitives, lines, meshes etc… Here you can find a comprehensive list:
https://github.com/speckleworks/SpeckleDynamo/issues/10
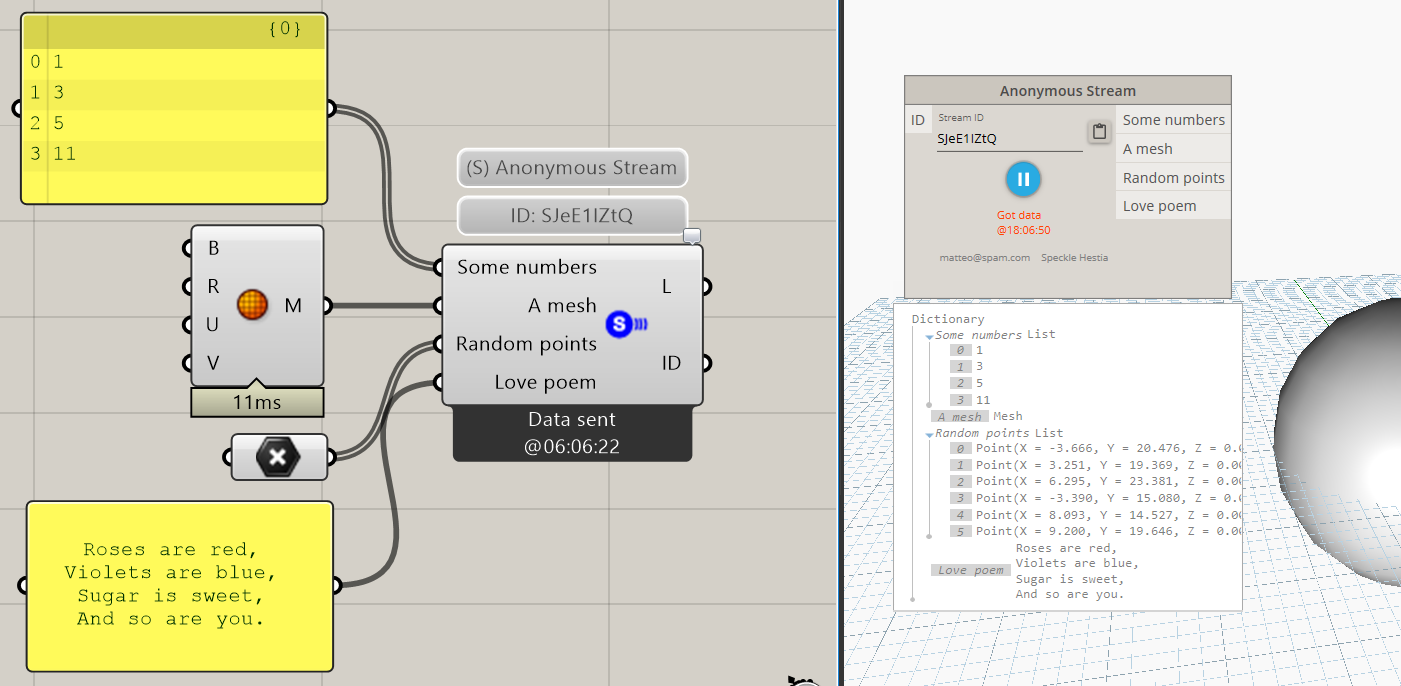
Support for nested lists / data trees
Speckle will automatically convert data trees to nested lists and vice versa:

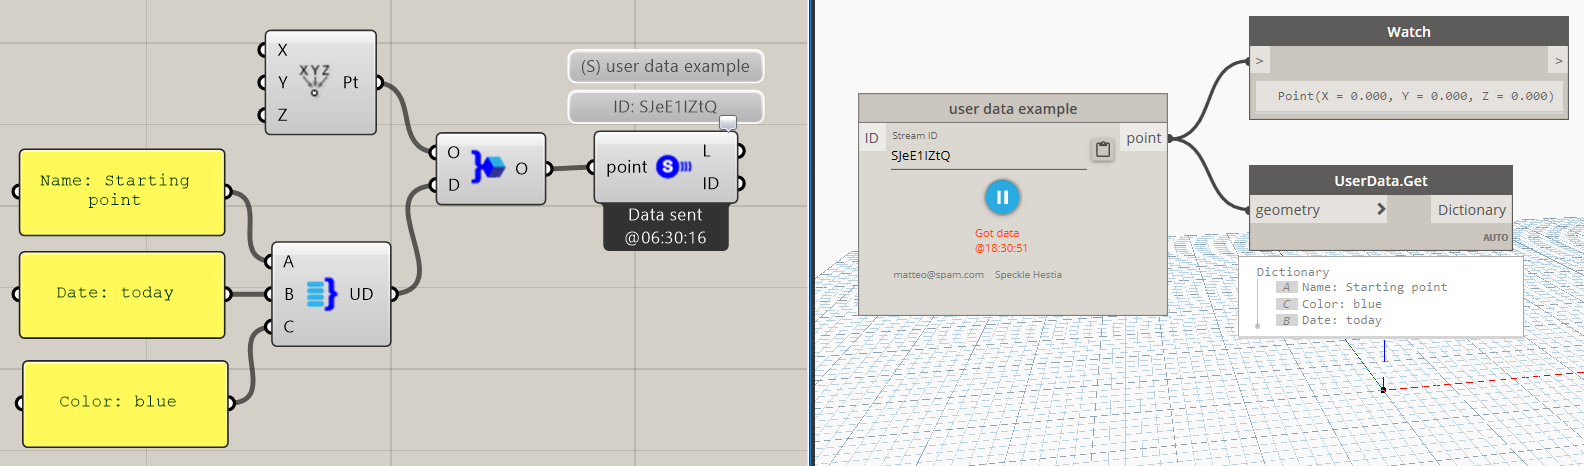
Add Custom User Data
Geometry sent with Speckle can have User Data attached to it, which is a way of adding extra information/properties/metadata. User Data is structured as a dictionary and you’ll need ad-hoc set and get nodes/components to attach/retrieve it.
Conclusion
This guide has shown you how to get started with Speckle and its core features, now it’s time for you to play around with it! Make sure to report all bugs you might encounter, and please keep in mind that while all the examples show sending from Grasshopper and receiving in Dynamo, it’s as easy to do the opposite.