I’ve been asked many times how I do take these panorama. If you google 360x180, virtual reality, equirectangular panorama, spherical panorama and so on you will find many different tutorials. Each method depends on the result you want to achieve, your equipment and your own preference. Following the key steps of my workflow, the main stages are three:
- picture production
- picture stitching
- panorama visualization
Picture production
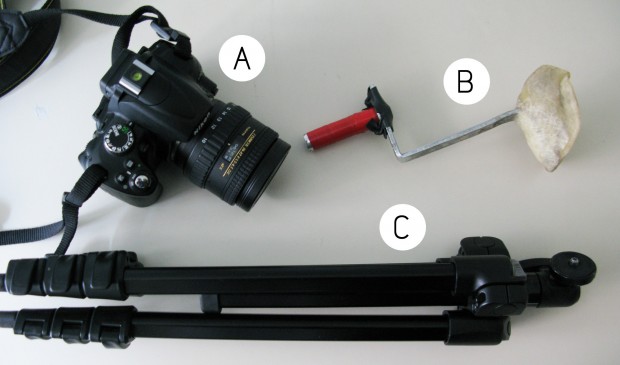
It’s quite obvious that in order to capture a full sphere of what is surrounding you, you need to take a lot of pictures from a central point in all directions. As I started experimenting I only had a compact camera, the technique then consisted in a handheld panorama, acquiring more than 60 pictures every time. This comported a lot of post production work and almost never seamless results. Now I’m using an entry-level DSRL camera, a fisheye lens and a tripod with a custom build panoramic head thus allowing me to just take 8 pictures and get almost perfect results in a much smaller amount of time.
 My equipment: fisheye, tripod and bonehead.
A panoramic head is something completely different from a normal tripod head and it is the only way to get good panorama. In order to better understand how a panoramic head works you should read my articles about how to detect the nodal point of a lens and about my custom built pano head. Of course there are many professional heads on the market, but they are very pricey (and in my opinion they are much less practical than my bone head!).
A very important detail about this step is to always shoot in manual mode, you should manually set aperture, speed, ISO and white balance so that the final result will be homogeneous. In case of high contrast scenes I suggest using also the HDR technology, in order not to have completely black or white parts.
Picture stitching
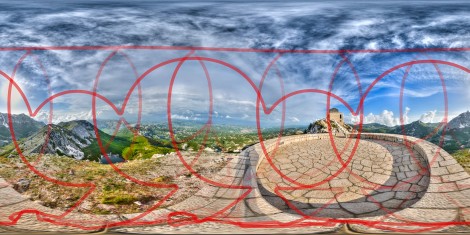
When I was taking 60+ photos the software of choice was Autopano, but with the fisheye lens PTgui works much better, especially for the mask feature with which I can hide parts of the images (the tripod and my feet) that do appear in the shots. These softwares automatically align the images, adjust colours and values, and create a smooth blending between the images. Of course many times little things need to be fixed afterwards in Photoshop so a good hint is to export with layers, and to use the polar coordinates filter to fix things at the bottom or top of the panorama (see this tutorial at Retouching a Panorama in Photoshop). The output of the stitching is usually a 2x1 equirectangular panorama but there are other possibilities.
 Example layers before stitching.
Panorama visualization
Here again there are different options, mostly depending on where you want to show off you panorama: either online or locally. My virtual reality page used krpano (commercial software), to me still the best app, with a lot of options and in continuous development, but recently I have switched to Google Maps. Krpano uses flash but also HTML5 and CSS3 for mobile devices, you can generate single .swf files containing the panorama as well for desktop usage. To generate proper images you also need Krpano Tools apps that will transform your equirectangular panorama in a cubic version or in smaller tiles for a smoother visualization.
This is most of my workflow, there are many other little considerations that should be said, but the best way to learn how to make these panorama is to try yourself!
